Wooden ducks are very rewarding carving object becuase they are relatively simple and they make great decorations. Wooden Ducks also are used as decoys for the water foul hunter. So there is a well established market and supply ofdecoy ducks. Most ducks used in hunting are no longer made of wood but despite that the duck making industry is large and thriving.
My home has several carved wooden ducks that were here when we purchsed it.
So the steps to carving wooden ducks are as follows:
Ten Steps to A Wooden Duck
Step one, obtain your example duck. If you have a certain duck that you’d like to pattern a wooden duck after get a photo in hand. It is not necessary that you copy the duck exactly but it is nice to have an example pattern duck to go by.
Step two, obtain your wood, click here to find what tyes of wood are ideal for a project like this. For this exmple I plan to use pine wood from a tree removal project in my front yard. To do this you can purchase wood prepred for carving or just use wood that you already have. In my case I am using a pine log.
Step three, prepare wood by removing the bark and blocking the wood for easy transfer of the duck template.
Step four, draw the duck onto the wood from sides and top and bottom and front views. Sketching the duck onto the wood is a critical step for the beginner.
Step five, make the large cuts and the larger wood removal steps. For example cut out the wood behind the head. Large cuts can be made with power tools if wanted. .Tools like table saws or hand saws can be used to rough cut and remove large amound of wood. Major rounding around the body, around the head.
Step six, begin to carve with a sharp carving knife, this is where the duck begins to take shape. It is critical to have sharp blades during these steps. It is also helpful to re-draw your duck shape as you remove wood, take your time.
Step Seven, once the duck has taken shape and you are satisfied with its shape and have done the fine carving and feather lines. Begin to sand your duck.
Step Eight, move between sanding and line carving and making your finishing touches.
Step Nine, Paint and or Varnish the duck.
Step Ten, take photos, learn from your mistakes and do it again.
Share a picture of the duck you carved below. If you get brave try to carve a wooden duck with a chainsaw, it can be done. This article from my friend can get you started.
Beginner Chainsaw Carving Tips From Michelle Thevenot Artwork
Chainsaw Carving is a unique art form that tends to fascinate viewers and carvers alike.
People often ask, “How did you start chainsaw carving?” And I’m eager to share a bit of my carving experience so far.
About a year and a half ago, I picked up a chainsaw for the first time, and decided to try my hand at chainsaw carving. Since then, I haven’t looked back.
But it didn’t just start with a chainsaw. The interest in woodcarving began about a year prior to that, while looking for ideas on homemade Christmas gifts. After watching a few YouTube videos and power-carving groups on Facebook, I decided to start small with a rotary tool.
I began sketching out basic designs of scraps of wood, made a couple of wood signs, Christmas ornaments, and etched designs on walking sticks.
I quickly grew impatient working with the small scale and wanted to work on larger projects, but lacked the necessary tools for the increased size. That’s when I started eyeing up my husband’s chainsaw. Not going to lie, it scared the crap out of me. The risk for injury was intimidating, so I soaked up as much info to start to feel comfortable with the idea. Geared up, which provided a reassuring sense of protection, and fired the saw up. Off I went on a determined girl-power mission to cut down a dead tree, dragged it into the yard, bucked it up, and attempted my first log carving.
The learning curve was steep. Just getting the feel for the saw, angles, pressure, and control took about 3 full carvings of “not great” results before improvements started happening.
Being “self-taught” has provided some really insightful learning through trial and error. I’ve worked through the kinks, found my groove, and techniques that works for me. But the learning doesn’t end – chainsaw carving is an ongoing journey of experimentation, creative problem-solving, and personal development as an artist.
I’d encourage anyone intrigued by the artform to at least give it a try.
So, you’re interested in chainsaw carving? That’s great!
Beginner Chainsaw Carving Tips
Here are a few tips that I learned from bumbling my way through beginning chainsaw carving.
1) Safety First
Chainsaw carving is inherently dangerous and it’s in a carver’s best interest to acknowledge the risk and respect the tools. Before even firing up the chainsaw for the first time, I read the manual (yes, the entire thing), took the chainsaw apart, put it back together, and just became familiar with the ins and outs of its operation. A bit of online research and watching videos on safe chainsaw operation were part of my self-imposed pre-use safety training.
Once I felt acquainted with the saw, I gathered personal protective equipment, which I feel is an ongoing requirement. This includes safety glasses, chainsaw chaps, gloves, and hearing protection. If I’m doing extra dusty work, I’ll add a face mask/respirator to keep the sawdust out of my lungs.
While the chainsaw may seem like the most dangerous tool in a carver’s collection, precautions are also necessary with other power tools that a carver may use. I have yet to have a chainsaw accident (thankfully), but its the angle grinder I’ve had a few knicks and near misses with.
So carve safe! And treat every tool like it could hurt you.
2) Start with Basic Shapes
Set yourself up for success and accomplishment by starting with basic shapes like a tree or a welcome sign. It provides opportunity to learn on a gentle learning curve, rather than jumping right into a complex 3D animal to start with. Just getting comfortable with the chainsaw and learning control is enough of a challenge at the beginning. Once chainsaw control becomes second nature, you can start challenging your sculptor mind with more complex subjects.
3) Start Small – But Not Too Small
Starting with small carvings has its advantages, and you don’t feel so defeated and wasteful when the first ones don’t turn out as anticipated.
But speaking from my initial experience, a smaller carving doesn’t necessarily mean an easier carving. My first carving attempt was on a little 2 ft log and I found it so hard to maneuver the saw around the small-sized carving and couldn’t get the detail I’d hoped for. Even using a 16-inch chainsaw bar, I felt the size of the saw was just too large in comparison to the log and I often unintentionally overcut areas.
On the other end of the spectrum, the phrase “go big or go home” could also lead you down an intimidating path of more work than you’re ready for.
A happy medium, in my opinion, is a 3-4 ft piece of wood for a starting size.
4) Anchor Your Work
To avoid tipping or moving of smaller carvings during carving, you can anchor the log to something to keep it in place. Anchoring methods I’ve used include attaching a wide piece of plywood screwed into the bottom center of the log to provide a wider base, or clamping it in a wood bench vise.
When working with larger, heavier pieces, they’re not likely to move with the pressure of the saw, so anchoring may not be needed during the carving process. If it’s a large cut log, I just ensure it’s straight and level before working on it.
5) Physical Care
The most vital tool to maintain for a carver is their own body. If the body’s broken, there’s no carving happening.
Without a doubt, chainsaw carving is a full-body workout that takes me to the limits of what I can do.
Think of carving like an intense workout at the gym. It will probably take time to get used to the muscles being used, building strength and endurance. For safety’s sake, maintaining a level of physical fitness, stretching, rehydrating, and taking breaks are key to avoiding injury and ensuring long-term sustainability. And by all means, stop when tired or hurting.
Post-carving self-care may call for additional measures at times. As needed, this may include an Epsom salt bath soak to ease sore muscles, icing overused joints, anti-inflammatory medication, and deciding to take several days off to allow recovery.
While some carvers may have the stamina to bang out a whole carving in a single session or carve for full 8-hour days, I don’t think it’s reasonable to expect that high-level performance from every carver, especially beginners.
From my personal experience, I can usually keep up the stamina for about 2-3 hours of work before needing to take a break to recover (for both the body and the mind.) It takes several sessions to complete a carving. The hard work and time that goes into creating a piece makes it all the more gratifying in the end.
6) Basic Carving Steps
While every carver has their own unique process and preferences, these are the basic steps I like to follow:
Pick what you want to carve and search for reference pictures. I print off a couple photos to look at throughout the carving process.
Make a scale drawing. I like sketching on graph paper to lay out the carving plan. My scale drawings usually include 1-foot markings on the height of the carving, and a center line down the middle. The grid makes it easier to copy to the wood afterwards. If you can draw 2 outlines (1 from the front and 1 from the side perspective) it makes carving a lot easier later on.
Draw/spray paint the grid markings onto the intended piece of wood, then the general outline from the front, referring to the scale drawing.
Carve out the front outline with a chainsaw.
Redraw the grid where cut off, draw the side outline, and carve out the side profile.
Complete the blocking out process with chainsaw by rounding off corners and removing as much bulk as feasible with chainsaw. As outlines are cut away, stop to redraw the layout often.
Detailing – some details/textures are done well with a chainsaw, but the finer detail is often enhanced with other tools such as a smaller chainsaw carving bar, a die grinder, or rotary tool with burr bits.
Finishing – sanding, cleaning the carving with compressed air, optional paint/stain/propane torch burning, and of course a topcoat sealer that’s ideally UV and water protectant.
That’s just a tip of the iceberg of what a beginner chainsaw carver might encounter along their journey into sawdust and two-stroke exhaust. The best way to learn is to get in there and try. Allow yourself the grace to make mistakes and learn from them. Have fun with trying something new and feel proud for challenging yourself!
No matter how it looks in the end, there will be someone out there that thinks what you’re doing is pretty darn SAWsome.
About the Artist – Michelle Thevenot
I’m a chainsaw / power tool carver hailing from Saskatchewan, Canada. I studied Art Education at the University of Saskatchewan. My artistic background originally focused on painting and drawing, but I craved a more tactile experience. Sculpture developed as a progressive challenge to try new things and test my limits.
As far as chainsaw carving goes, I learned through experimentation and I continually try to find what works for me, which is undoubtedly challenging, yet rewarding in a pure sense of developing a unique personal style. I carve in my “free time,” which can be preciously rare in addition to life’s adventures. Besides art, my days are filled with being a work-from-home Mom balancing office time with modern homesteader tendencies, property development projects, informal homeschooling, hunting, trapping, fishing, and other wilderness excursions.
Wood carving is much easier with the right tools. Heavy gas-powered chainsaws which most prospective carves own are not ideal for the beginner wood carver. Also sharp pocket knives are not ideal for the beginner wood carver for making anything more than whittling a spear at the end of a stick.
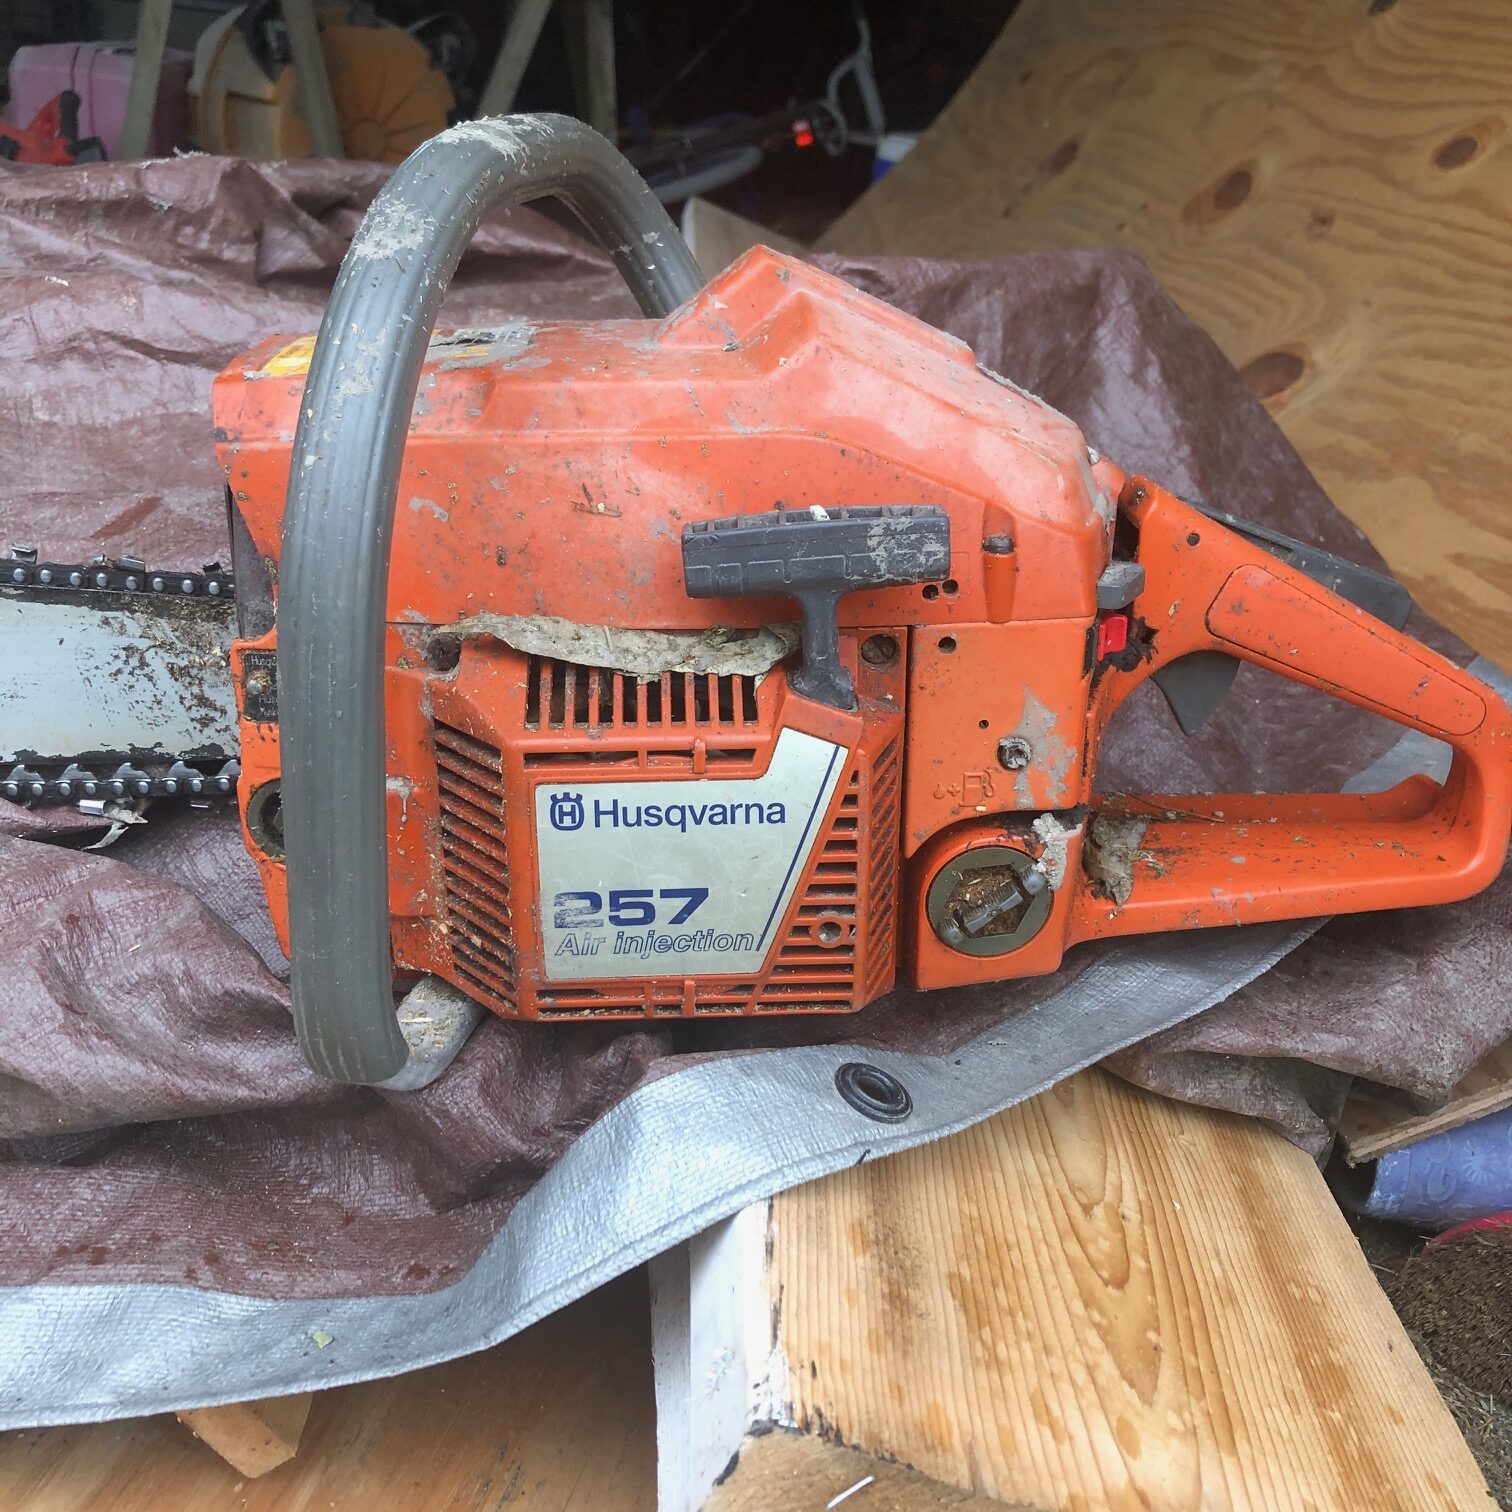
With chainsaw carving fatigue can be a major factor. My Husqvarna 257 is very heavy for me and after less than an hour of use fatigue sets in. If I were making a large detailed carve then I’d need to use a Stihl Msa200.
There have been great advances made in smaller chainsaws, even chainsaws powered with battery are available. These lightweight chainsaws are great options for the beginner and even seasoned chainsaw carver.
The weight of the electric battery powerd Stihl MSA20 is 10.2 lbs. The weight of my Husqvana 257 which is typical 20″ gas powered chainaw is over 30 lbs.
Thirty pounds may not seem like much but when wielding it for hours as is the case when carving matters…a lot. The only negative to a battery powered saw is the battery charge. According to the website with the recommended battery AP 300, the saw will run for 45 minutes. Just enough time to carve for a while then take a break. However with the AR 3000 battery this saw can run for 200 minutes.
If weight is not a major factor for you then a well running smaller chainsaw is fine for the beginner carver. As you might expect smaller bars/ chains might be more practical.
Tools for Beginning Whittler
I am not a professional whittler, I can carve basic things with knives and do own sharpened wood carving knives. However, I have spoke with some pros about this and they insist that the best tools to get started carving is a shortened carving knife. Stiff, short and sharp along with a 90 degree wedge blade. Shaped like a V. These two knives can get the whittler 99% of the cuts and shaping that we need. The versatility of what can be done with these two knives is very good.
There are many fancy options for carving knives and buying just these two knives is diffu=icult on amazon. This kit on amazon however contains these two blades, along with many others. Another option might be to go to a craft store and just buy individual knives.
For the beginner carver it is also advisable to use a pencil to sketch on the wood before you start carving. Also if possible, find someone that can help you get started with the basic cuts. I purchased a coursed on Udemy to help me get started carving with wood, and it was well worth the fee. My instructor was a woman who had been carving since the 1980s and she had developed extreme skill and enjoyed teaching.
So there you have it, the highly rated Stihl MSA 200 battery powered chainsaw and a $37 dollar knife kit. Are the best tools for the beginner wood carver. Once you get your beginner tools, keep them sharp and just get carving. I would recommend you start chainsaw carving chairs, then move to bears. And with knife carving start with little figurines then move to wooden ducks. You may be surprized at what you are capable of carving.
Carving with knives is a rewarding hobby that takes some time to develop. It also takes the right set of tools, but with just a little investment you can get going.
Another word used for carving with knives is whittling. Whittling can be used and has been used for centuries to make anything from spears for hunting, to figurines for Christmas, to signs in a local tree declaring love for a special someone.
To get started carving with knives or whittling thre are four cuts that need to be mastered.
The Stop Cut – is a cut with a carving knife that penetrated into teh edge of the wood then stops. The stop cut is perpendicular to the plane of the wood, so it goes straight in. Then a second cut comes in and meets the stop cut to terminate it. This cut causes considerable shadow and is usefule in a wide variety of figurines and other carvings.
The Pyramid Cut – is a cut into the face of a piece of wood that is three cuts which meet at a point in the wood. When the 3 cuts are complete a small pyramid of wood pops out, creating the divot or void in the wood. They create nice shadow and are helpful in creating details.
The Vee Cut – is just what is sounds like a very simple cut into the edge of a piece of wood that creates a V shape in the wood. The Vee cut createss low shadow in the piece.
The Sweepng Cut – is a sweep of the wrist along the edge of a piece of wood that curls and creates a curved feature in the woods edge. The sweeping cut can meet a stop cut or a V cut to create the curved effect and it has a little more shadow than the Vee cut.
I will post pictures of all of these cuts to help with the beginner. Make sure to practice these cust often befure you attempt to carve something with real wood that you care about. Its good to practice using pine wood. Also here is a link to a good wood carving kit.
What is the best wood for carving? If you are like me you have asked this or are currently asking this question as you get started in carving. And if you are also like I was, you are a beginner in wood carving because you are asking it. Seasoned carvers don’t seem to ask this and seem to scoff a little at the question.
If you are like me you may have some wood and are looking for something useful to do with it. Or you may have a tree you want down and are just wondering if you can turn it into a wooden bear or an eagle or an outdoor bench. For me it was two 6′ diameter 200 foot tall mega-willow trees. And two unwanted pine trees that were dumping sap on our vehicles.
The quick answer to that question is that most woods can be used for carving but some woods are far better suited for carving than are others. As was in my situation, willow can be carved, it is very soft, but it dries out fast, it cracks easily and it typically full of parasites. All of which happened, but I was able to do some initial caves and I developed some carving skills. Both with my chainsaw and with a carving knife that I bought at a rummage sale for $0.25.
I asked what is the best wood to carve to dozens of professional and hobbyist wood carvers. And most of them said not to make anything valuable with willow but carve it anyhow for practice and to just enjoy the process. They also pushed back on the question a bit before answering. They helped me to split the question up into several questions in order to answer most appropriately.
What is the best wood for a beginner to get started carving with?
What is the best wood to carve with a chainsaw?
What is the best wood for whittling? (carving with a knife)
What is the best wood to make valuable carves that are kept for decoration and/or sale, like wooden ducks?
So the best wood depends on what tools that you are carving for and carving with.
What is the best type of wood for a beginner carver to start with?
Answer: White pine that is freshly cut in the fall, not cut in the spring or early summer. This is because there can be high amounts of pine sap in the wood if it is cut in the spring. This sort of wood is the best for beginners to gain carving skills with, especially when carving with a knife. Freshly cut wood is softer and easier to work with. White pine is also good for chainsaw carving but chainsaw carving can be a bit more forgiving.
What is the best wood to carve with a chainsaw?
Answer(s): White pine, cedar, or cherry. But wood type is not all that critical, just start carving with the wood that is available. Develop carving skills, develop your cuts and grooves to accomplish the shapes and details you are looking for. Also smaller chainsaws are easier to get started with , 14″ to 16″ bars are easier than larger 20″ bars for detail work.
Best wood for Whittling?
Answer: White pine cut that has been freshly cut in the fall or winter. As the beginner increases in skill they should expand out to other woods. It is not a huge deal what wood you use to carve. Some other great options include: birch, cherry, black walnut, cedar, and Sumack. Beginner carves are spoons and perhaps a duck. Not too much detail and rewarding at the end of the carve. Some woods are too hard and are hard on your tools but if that is not a problem grab a piece of oak or maple and start carving.
What is the best wood to make valuable carves for decoration and/or sale?
Custom Wood Carving
BestAnswer: black walnut, cedar, birch and cherry.
As I researched this and started carving myself I quickly realized this is a common question for beginner carvers. But for the experienced carvers it is not as big a deal. There are many woods that are good options for carving with either chainsaw or knives.
The important thing is to just get carving, improving skills and if you mess up, have a bonfire, cook some smores, or use it to heat your home.